

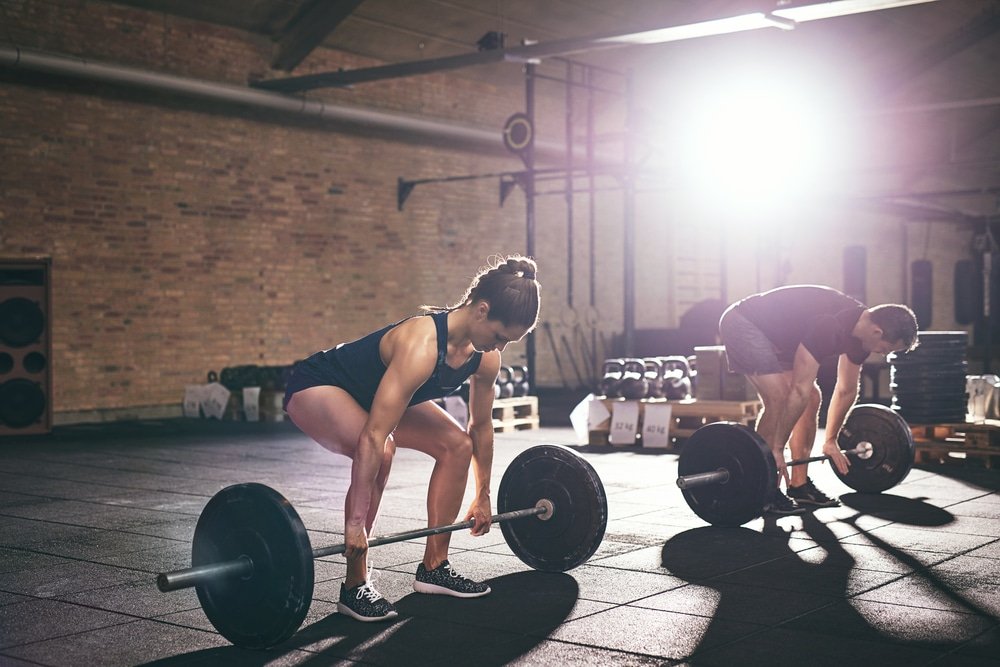
If you don’t have much time to spend working out, then the deadlift could become your best friend – it challenges every muscle in your body, in one single session.
The name ‘deadlift’ has nothing to do with death or anything remotely frightening. And just like the back squat, it’s not an exercise reserved for Olympians only.
Its name comes from the fact that you’re lifting a dead weight off the floor.
The benefits of the deadlift make it one of the most (if not THE most) effective strength workouts you can employ.
Let’s get into the big ones …
- Strengthens every major muscle in one exercise
- Improves your posture by reinforcing the lower back
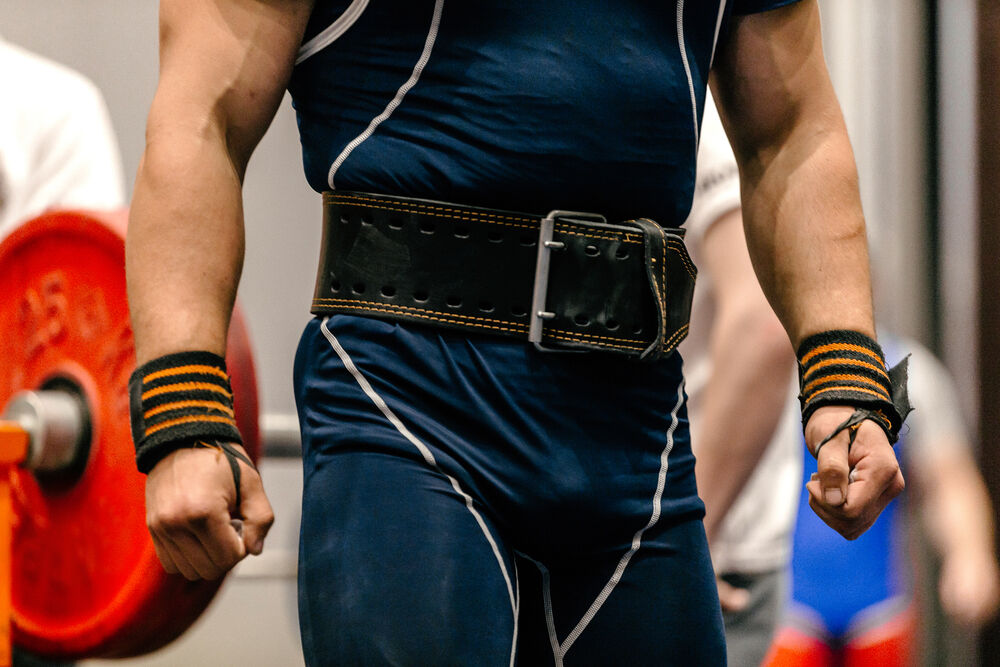
- Gives you the grip of a bear by testing your fingers
- Tones your abs, bum, waist, hips and lower back by relying on your core throughout
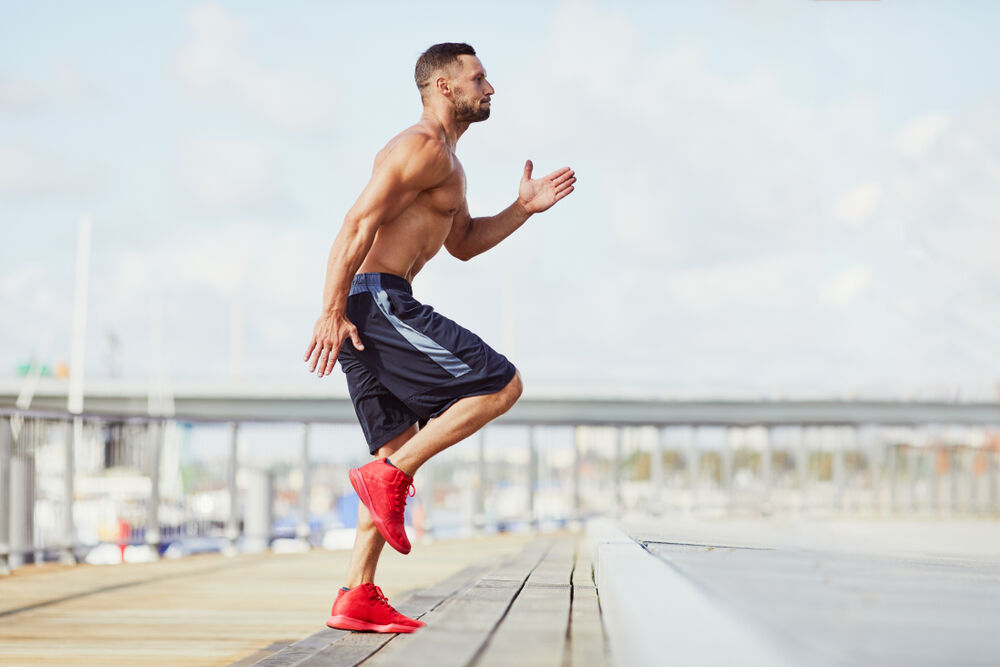
- Develops your fitness without the need for a traditional cardio workout
Beyond these strength and fitness benefits, the deadlift has a lot more going for it – like its primary purpose.
If you think about it, we’ve been lifting heavy things off the floor since we developed thumbs … probably earlier.
It’s one of the most natural movements we perform as humans. And so by working on it in the gym, you make your ‘normal life’ easier; just imagine the next time you lift the couch to clean underneath, or carry a weekend’s worth of rubbish to the wheelie bin.
When you train your body with deadlifts, you don’t just see the benefits outside the gym, you really feel them in everything you do.
Not only that, but you notice the difference when performing any other exercise, too. For example, when you’re picking up a couple of kettlebells for the farmer’s walk, you effectively deadlift them at the beginning of the exercise.
If that’s not enough, here’s one more reason to embrace the deadlift – and this one usually takes new adopters by surprise …
It’s safe.
Unlike the bench press and squat, you’re not placing yourself underneath a weight when you deadlift. That means you can drop it in an emergency. And that means you don’t necessarily need a spotting partner (though it’s still recommended).
Important notes about deadlifting
It will be tempting to use the momentum of the first rep to accelerate the second lift – resist this. You can cause the spine to jar and run the risk of injury.
The exercise will put a lot of pressure on your back and can considerably raise your blood pressure. When executed correctly, it isn’t dangerous. But if you suffer from any sort of heart or lower back condition, then it’s important you consult a physician before attempting a deadlift.
How to do a deadlift (step-by-step)
Before we get stuck into the step-by-step deadlift instructions, it’s important to understand that there are two lifts involved with this exercise:
First lift – from the floor to your knees
Second lift – from your knees to your hips
We walk through both lifts below, plus the reverse phase of the workout (lowering the bar back down).
Depending on your preferred weight, you would use either a pre-loaded barbell or a manually loaded Olympic bar.
- Set up the right stance
You want the bar placed on the floor, with plenty of room around it.
Walk up to the bar, and tuck your feet underneath. You want them in line with your shoulders (always avoid positioning them outside this line).
Your shins should be about an inch away from the metal.
Tip: To help confirm your feet are in the right position, imagine the bar as a horizontal halfway line across the middle of your feet (that’s the whole of your feet, by the way – so halfway between your heel and toe).
- Grab the bar
Bend down from the hip and grip the bar with your palms face-down. Your hands should be just outside where your shins are lined up.
— Note: Alternating grip technique (i.e. one palm down and one palm up) can help reduce the strain on your forearms and grip. —
- Touch the bar with your shins
 Without moving your feet, push your knees forward so your shins kiss the metal.
- Prepare to lift
Keep your chest strong and facing forward.
Keep your eyes laser-focused on a point straight ahead about seven feet in front of you.
Keep your arms straight and pull the bar into your shins.
Tip: To help keep your arms nice and straight, imagine you’re a Lego man and that you have no movement in your elbows.
- Perform the first lift
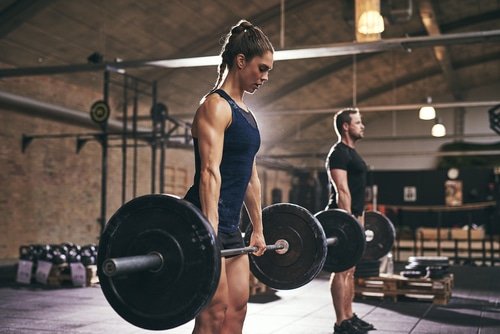
Keeping the angle of your spine consistent and maintaining your stare at the focal point straight ahead, drive your knees to lift the bar from the floor to your knees. The angle of your spine should still be the same at this point.
- Perform the second lift
Using your hips, straighten up so your spine is fully vertical and bring the bar to your hips. Your eyes should still be fixated on that focal point. Avoid looking down at the bar (or anywhere else).
- Reverse the second lift
Push your bum backwards as you lower the bar to your knees and resume your stance from the end of the first lift. The angle of your spine should now resume its position from earlier too and the bar should be touching your knees. Again, your eyes must stay looking straight ahead at that point.
- Reverse the first lift
Lower the bar from your knees to the floor and resume your stance from Step #4 in this list.
- Start again
Tips on deadlift form
- From the moment the bar is touching your shins, keep it in contact with your body throughout the entire workout (shins > knees > thighs > hips > thighs > knees > shins)
- Force yourself to lower the bar to the floor in a controlled way
- If you lose your stance for any reason, exit the lift and restart
- Once your feet are in position (with the bar as the halfway line across your laces), imagine they’re set in stone and keep them solid at every stage of the lift
- Stare at your focal point straight ahead at all times
- Give yourself enough rest between sets so that you’re able to maintain the form
- If you notice your form wavering due to fatigue or anything else, exit the workout
- Don’t forget to breathe
Some closing advice on deadlifting:
It might seem obvious but avoid deadlifting monster weights when you’re starting out.
The deadlift tests your whole body and relies heavily on your major muscle groups, not to mention its effect on your blood pressure.
Familiarise yourself with the form by lifting a barbell without added weight on either end. Then move onto a light weight, then slightly heavier, and so on.
Even though you may be benching stacks and stacks of iron, you still may not have the overall strength to lift a dead weight safely. Consider yourself brand new to the gym and train responsibly.
If there is anything else you’d like to know about deadlifts, feel free to talk to us in the comments below.


No Comments yet!